By Olivia’s Garden
We have all been there. You are dreaming of lush tomato vines and fragrant basil, but then reality hits: your back hurts just thinking about bending over to dig into that compacted clay soil, or you look at your tiny balcony and wonder if you even have the space.
As a professional horticulturist who has been helping home gardeners for over a decade, I often tell people that the secret to success isn’t a green thumb-it is infrastructure. You need the right vessel to let your plants thrive without fighting Mother Nature every step of the way. That vessel is a quality garden bed.
That is why I was genuinely excited to test the Best Choice Products 4x2x1ft Metal Raised Garden Bed, currently on sale for only $35 at Amazon. Shoppers are saying this garden bed “could not be more perfect,” and after putting it through its paces, I have to agree.
Whether you are a beginner planning a vegetable garden for the first time or an urban gardener looking to maximize a patio, this little garden bed might just be your new best friend.


Why $35 is a Steal for Serious Gardeners
Before we dig into the assembly, let’s talk about value. In the gardening world, a sturdy, metal raised bed usually runs between $80 and $150. When I saw this listed at $34.99 (originally $93.99), I was skeptical. I expected thin tin foil that would bend in the wind.
I was wrong.
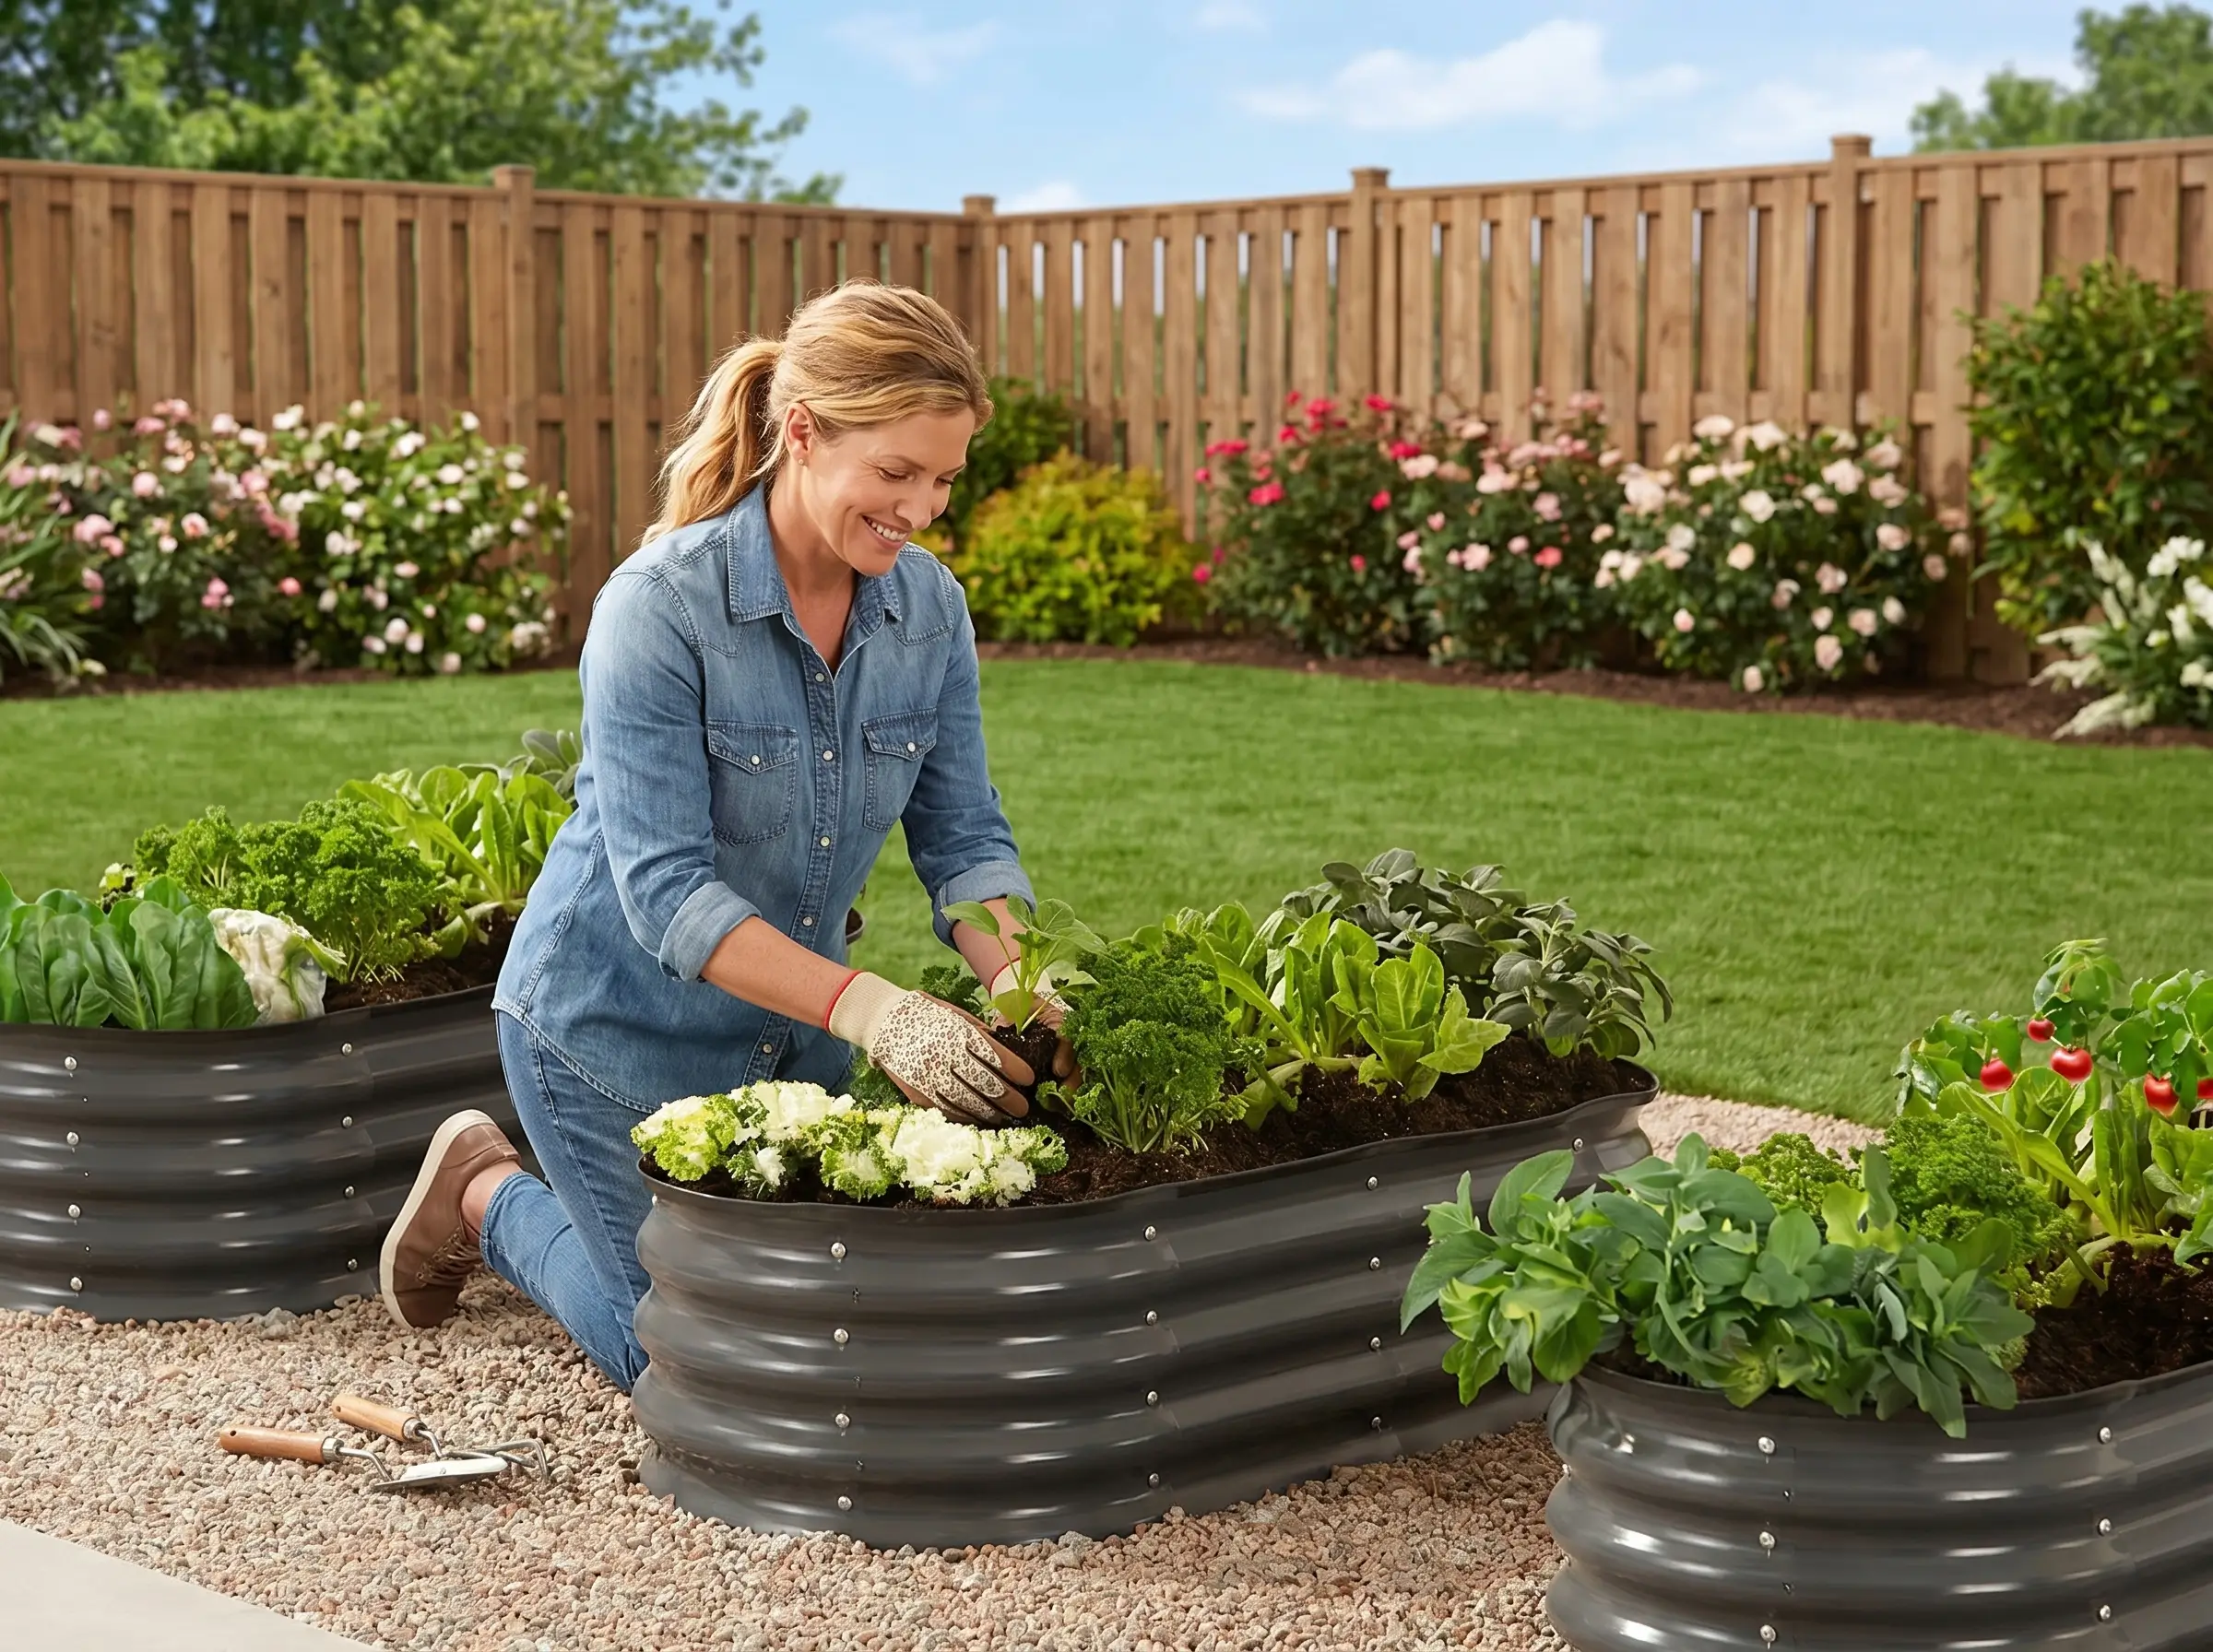
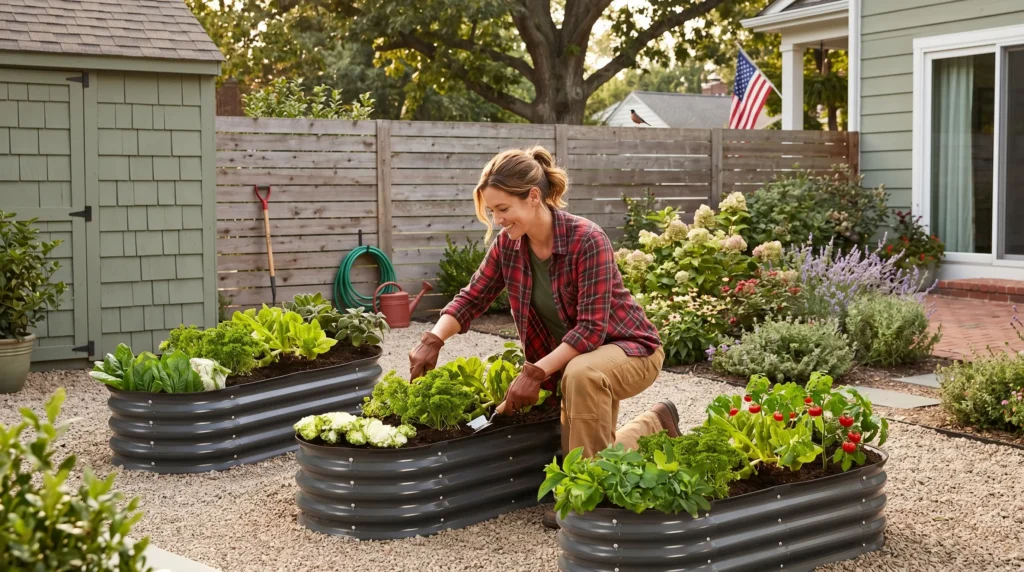
This 4-foot by 2-foot by 1-foot deep bed is made of powder-coated steel. For the non-horticulturists out there, that “powder coating” is crucial. It prevents rust and protects the metal from UV rays. At 12 inches deep, you have roughly 51 gallons of soil volume. That is the “Goldilocks” zone for gardening: deep enough for peppers and shallow-rooted carrots, but not so deep that you waste money on expensive soil.
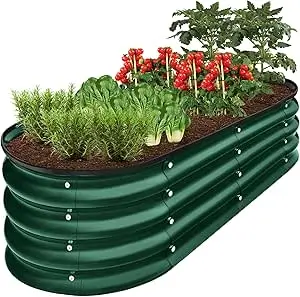
Best Choice Products Garden Bed
Unboxing and Assembly: Do You Need a PhD?
One of the biggest barriers to entry for new gardeners is the intimidation of “some assembly required.” I have seen raised beds that come with 200 screws and indecipherable hieroglyphics for instructions.
The Assembly Verdict: It took me 15 minutes. No joke.
The panels are lightweight but rigid. You do not need a drill or a hammer. The connections use a screw, washer, and wingnut system. Because you can tighten the wingnuts by hand, my six-year-old “helper” actually did half the work.
Pro Tip: Lay out all the panels in a rectangle on a flat surface before you start screwing. Ensure the pre-drilled holes line up perfectly. Tighten the wingnuts just until snug—over-tightening can warp the metal.
The Horticulturist’s Review: Soil, Roots, and Drainage
Let’s get nerdy for a second. Why does this specific size work so well for urban gardeners?
1. The Magic of 12 Inches
Many decorative planters are only 6 or 8 inches deep. That is fine for lettuce or moss, but terrible for roots. At 12 inches deep, this bed hits the “root zone” sweet spot.
- Shallow roots (0-6″): Arugula, Radishes, Chives.
- Medium roots (6-12″): Bush Beans, Peas, Kale, Swiss Chard.
- Deep roots (12″+): Tomatoes, Peppers, Cucumbers (they will reach down into the 12″ space comfortably).
2. The Open Base Strategy
Unlike a solid pot, this bed has an open bottom. This is not a bug; it is a feature.
- Drainage: It prevents root rot. If you overwater, the water escapes at the bottom.
- Critter Control: It deters burrowing voles (mostly) because they have to come up and over the edge.
- Putting Leaves to Work: This is my favorite part. Because the bottom is open, you can practice “lasagna gardening.” Place a layer of cardboard (to smother grass) and then a thick layer of fallen autumn leaves at the very bottom of the bed before adding your soil. As those leaves break down, they feed worms and add nitrogen to the soil.
Real Shoppers, Real Results (Analyzing the Feedback)
To give you the full picture, I scanned through hundreds of reviews. Here is what actual buyers are saying, translated into horticultural advice.
The “SimpleGrow” Enthusiast
“Tired of aching backs and struggling with poor soil? … Right out of the box, I was impressed by how easy the assembly was. … The depth is just right, allowing for healthy root growth and good drainage.”
My Take: This reviewer gets it. By raising the soil height to 12 inches, you eliminate “soil compaction” from foot traffic. Your roots can breathe.
The “Peacock Blue” Perennial Pro
“I have found that using raised beds even for perennial items has made a huge difference… since our soil is actually extremely rock filled and heavy clay.”
My Take: Heavy clay is a death sentence for roots because it holds too much water and suffocates them. This bed acts as a “starter pot” for perennials like lilacs or Russian sage. The plants live in perfect soil for a year, establish strong roots, and then punch through the open bottom into the clay below once they are strong enough.
Addressing the “Tedious” Complaints
“Tedious… took time to screw on all the wingnuts.”
My Take: Anne (the reviewer) is technically correct. Doing 30+ wingnuts is tedious if you are impatient. However, I argue that this is meditative, not tedious. Put on a podcast. Pour a lemonade. Hand-tightening gives you a better feel for the structural integrity than an impact driver would.
Planning a Vegetable Garden: A 4-Week Roadmap for Your $35 Bed
You have the bed. Now what? Here is my step-by-step guide to ensuring success for under $50 total.
Week 1: Location Scouting
- Place the bed where it gets 6-8 hours of direct sunlight.
- Ensure the open bottom is sitting on soil or grass, not concrete (unless you use a liner for water runoff).
Week 2: The “Leaves to Work” Method
- Materials: Cardboard, fallen leaves, compost.
- Fill the bottom 4 inches with wet cardboard (shiny tape removed) and shredded autumn leaves.
- Why? As a gardener, putting leaves to work saves you money. Instead of bagging them for the dump, you are creating free humus.
Week 3: The Perfect Soil Mix
- Do not use “topsoil” from a bag. It is too heavy.
- Buy a mix of 40% compost, 40% coco coir/peat moss, and 20% perlite.
- Fill the bed to the top. It will settle 2 inches after watering.
Week 4: Planting
- For beginners: Plant 1 Cherry Tomato plant (center), 4 Basil plants (corners), and 6 Lettuce seeds (edges).
- Water deeply once every three days, not a little bit every day (deep watering encourages deep roots).
Common Mistakes (And How to Avoid Them)
Even with a $35 bed, you can mess it up. Here is how to avoid the most frequent errors I see.
Mistake #1: Not removing the plastic film.
Several reviewers mentioned spending an hour peeling off blue protective film from the metal panels. Do this BEFORE assembly. Once the wingnuts are on, it is a nightmare to peel.
Mistake #2: Using garden soil from your yard.
If you dig a hole in your yard and put that dirt into this bed, you are bringing weed seeds and fungus gnats with you. Always use a sterile raised bed mix.
Mistake #3: Ignoring the cross braces.
The 4×2 bed has support beams. Do not skip them. They prevent the long sides from bowing outwards when 51 gallons of wet soil (which weighs over 400 lbs) pushes against the walls.
Seasonal Tips for Your Metal Bed
Spring (Cool Crops): Spinach, Peas, Radishes. The metal absorbs early spring heat, warming the soil 5 degrees warmer than the ground. Plant 2 weeks earlier!
Summer (Heat Lovers): Peppers and Eggplants love the heat retention of metal. However, in Arizona or Texas, the metal rim can get hot. Use rubber tubing (included) or pool noodles sliced open to cover the top edge to protect your wrists.
Fall (The Reboot): When you pull your summer plants, do not empty the bed. Just cut the stems at the soil line. Plant garlic cloves or cover crops (clover). The roots left behind rot and create air tunnels for next spring.
FAQ: Your $35 Garden Bed Questions Answered
Is this bed safe for growing vegetables?
A: Yes. The powder-coated steel is non-toxic and rust-resistant. Unlike pressure-treated lumber (which can leach arsenic), this metal will not chemically contaminate your tomatoes.
Can I put this on a wooden deck or balcony?
A: Absolutely. Since it is 4×2, it fits on most balconies. However, because it has an open bottom, place a plastic drainage tray or a boot tray underneath if you are worried about water staining your wood. Alternatively, line the bottom with plastic and poke holes in it.
How does this handle snow or winter?
A: Very well. Disassemble it and store the panels flat, OR just leave it assembled. The metal contracts in the cold, but it won’t crack like ceramic. In snowy climates, fill it with leaves over winter to protect the structure from ice expansion.
Do I need to drill drainage holes?
A: No. The open base handles all drainage. Do not block the bottom with a solid tarp unless you are turning this into a water fountain.
I’m a renter. Can I move this easily?
A: Once filled, no. 400 lbs of wet soil is immovable. However, when empty, it weighs about 15 lbs and folds flat (if you loosen the wingnuts). You can move it in the back of a Honda Civic.
The Final Verdict: Should You Buy This Garden Bed?
If you are an experienced gardener with a half-acre farm, this 4×2 garden bed might feel a bit small for your ambitions. You will probably want the 8-foot version of this same garden bed.
But if you are a beginner, a renter, or an urban gardener trying to squeeze joy out of a tiny patio, this garden bed is a 10/10.
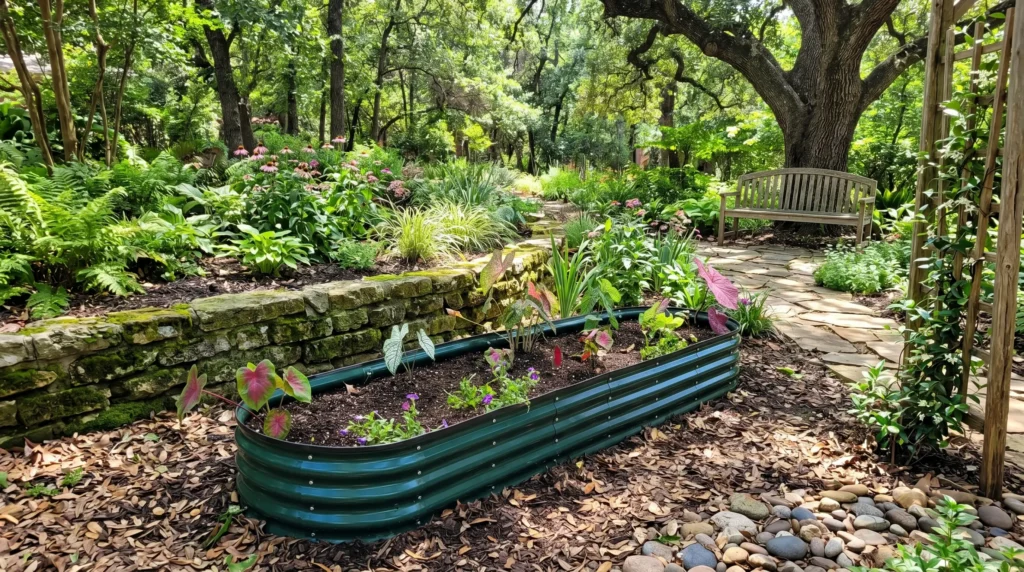
You are getting commercial-grade, rust-resistant steel for the price of two pizzas. It looks beautiful (the taupe and peacock blue colors are stunning). It requires zero tools. And most importantly, it removes the two biggest barriers to entry: physical labor (no digging) and knowledge (soil control).
My Call to Action: Don’t overthink this. Amazon has this garden bed marked down from 93to35. At that price, buy two. Use one for salad greens and one for a “salsa garden” (tomatoes, peppers, cilantro). Your back, your wallet, and your dinner plate will thank you.
Ready to grow? [Click here to grab the $35 Best Choice Products Garden Bed on Amazon
Have you tried this garden bed? Share your photos and soil recipes in the comments below!